
Edifice Basics
A Guide to Simple Website Edits
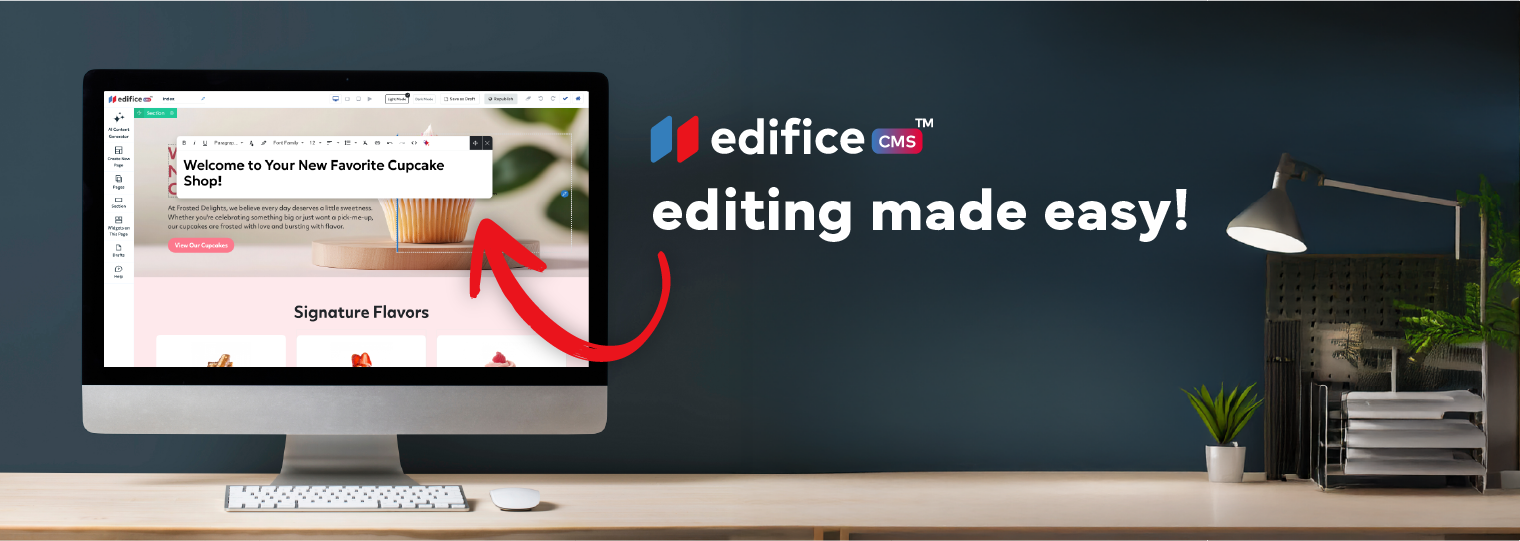
About Edifice CMS
Edifice CMS is your all-in-one website builder–fast, flexible, and built for creators who want control without the coding. From ready-made templates to expert-built sites, Edifice makes it easy to launch a beautiful, high-performing website.
Welcome to Edifice CMS, where creating a beautiful, functional website is made easy, even if you're a beginner! This guide will walk you through some essential steps in editing and customizing your website. Whether you're just starting or refining your site, these tips will help you use Edifice with ease.
1. How to Change Text
Text is the core content of your website, and it's important to ensure it’s clear, engaging, and relevant to your visitors. Whether it’s your homepage introduction, product descriptions, or contact details, the text should reflect your brand and message. Updating your text is one of the easiest and most essential steps in personalizing your site.
- Step 1: Hover over the text you want to edit.
- Step 2: Click directly on the text to open the text editor.

- Step 3: Make your changes — whether it’s updating a sentence or adjusting the style (font, color, size).
- Step 4: Once you are done editing, quit out and hit “Republish”. This will make your changes live on your website.
Quick Tip: Always ensure your text is clear and concise. Your visitors should be able to read your text without any confusion.
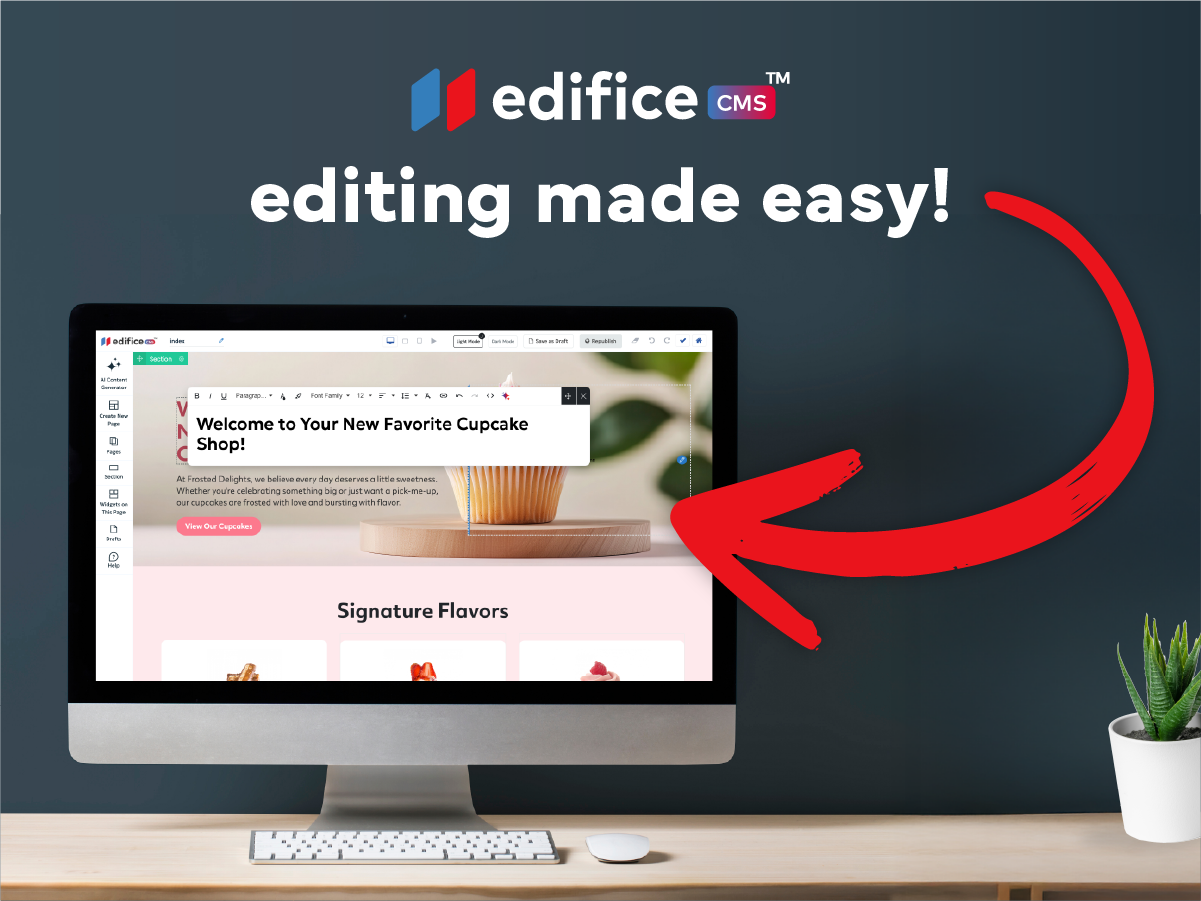
2. How to Change an Image
Images are the most important part of an engaging website. They are a key part of your site's visual appeal and can help reinforce your brand message. Whether you're updating your logo, showcasing products, or adding banners, keeping your images fresh and aligned with your content is crucial for making your website visually attractive.
- Step 1: Hover over the image you want to change.
- Step 2: Right click on the image and select “Edit Design”.

- Step 3: An Image widget toolbox should appear. Click “ Select From Library”

- Step 4: The media manager will appear. Here you can choose to upload a file or select from library.

- Step 5: Scroll down and choose the correct image.
- Step 6: Click "Select" and your image will appear on your site!

3. How to Add Links to Images and Buttons
Links are vital for connecting your visitors with other parts of your website or external resources. Whether it’s linking to your service page, an external blog, or a contact form, adding links to images or buttons provides a seamless experience for users to navigate your site. It also helps with SEO by connecting relevant pages within your website.
- Step 1: Right click on the image or button you want to link.
- Step 2: Click on “Edit Design”.
- Step 3: An Image widget toolbox should appear. Click “ Select where the image/button links to”

- Step 4: Insert the URL and click Apply to save the link.
Now, your images or buttons will take users to the right place with a simple click!

4. How to Add a New Section
Sections help you break down your content into manageable pieces, making it easier for visitors to consume. Whether you’re adding a new service, updating your blog section, or introducing a testimonial carousel, sections allow you to structure your content for maximum impact. Well-placed sections improve the overall user experience, guiding visitors to what they need with ease.
- Step 1: On the left hand tool bar, click on the "Section" tab.

- Step 2: Click to select a blank section, or choose a section template.
- Step 3: This will add it to the bottom of the page. Edit and move that section to wherever you need it!
- Step 4: Once it is customized, don't forget to click "Republish". This will activate your edits on your live site.
Final Thoughts
These basic steps are just the beginning of your journey with EdificeCMS. From text edits to adding new sections, everything is designed to be simple and intuitive. So, start exploring, make your changes, and get your site up and running in no time!
Remember, Edifice is here to help you every step of the way. If you need more assistance, just click the Help button in your dashboard for detailed tutorials and support.
Happy building!

Edifice CMS is the digital chisel in your hands, scripting your website dreams into reality with its intuitive interface , stunning templates, and powerful tools, allowing you to build an online masterpiece without the need for coding expertise.

© 2025 Edifice CMS, All rights reserved.